
Taking care of your home does not always require hiring a professional. Some repairs are easy, fun, and can save you a lot of money. Whether you own a house or rent an apartment, knowing basic DIY home repairs will make life easier. Let’s dive into the best DIY home repairs that every beginner should learn.
1. Fixing a Leaky Faucet
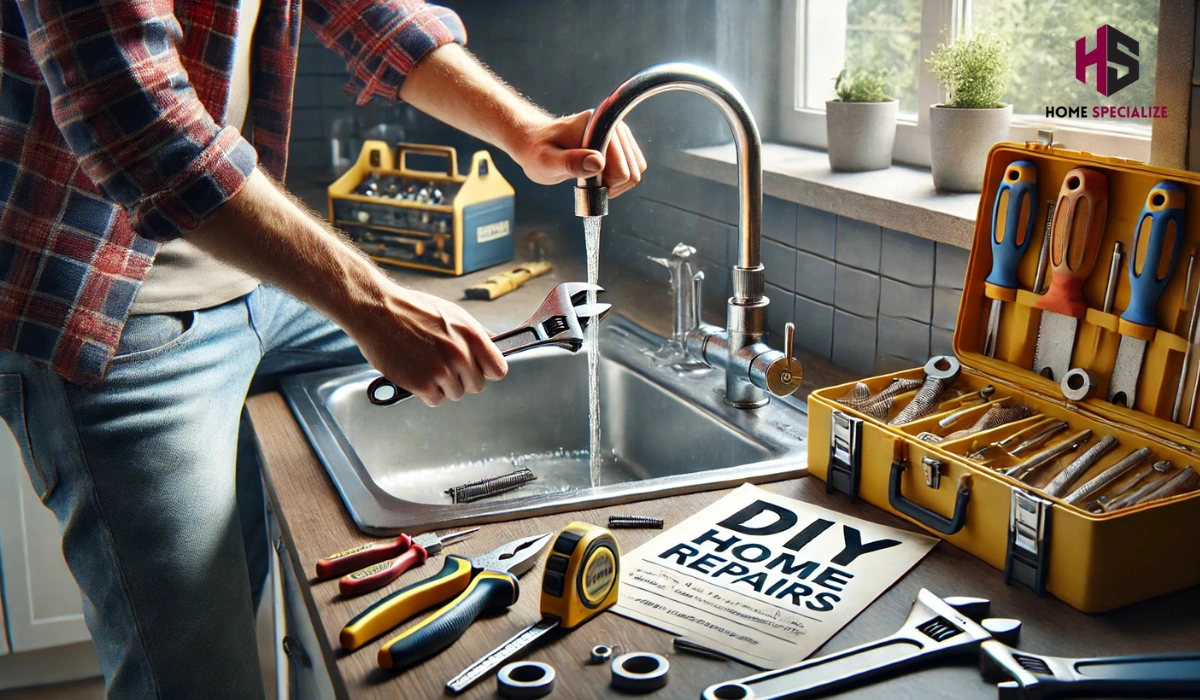
A dripping faucet is annoying and wastes water. The good news? You don’t need a plumber! Here’s how to fix it:
- Turn Off the Water: Before you start, turn off the water supply under the sink.
- Remove the Handle: Use a screwdriver to take off the handle.
- Replace the Washer or Cartridge: A worn-out washer is usually the problem. Replace it with a new one.
- Reassemble and Test: Put everything back together and turn the water on. No more drips!
2. Unclogging a Drain Without Chemicals
Clogged drains are common but don’t rush to buy harsh chemicals. Try these safe methods:
- Boiling Water: Pouring hot water down the drain can break up grease and soap buildup.
- Baking Soda and Vinegar: Mix 1/2 cup of baking soda and 1/2 cup of vinegar. Pour it down, wait 15 minutes, then flush with hot water.
- Plunger: A sink plunger can work wonders for clearing minor clogs.
3. Patching Holes in the Wall
Nail holes or dents in the wall can make a room look worn out. Here’s how to fix them:
- Small Holes: Use a bit of spackle, smooth it out with a putty knife, and let it dry. Then, sand and paint over it.
- Larger Holes: Use a patch kit, which includes a mesh screen and spackle. Apply, smooth, dry, sand, and paint.
4. Fixing a Running Toilet
A toilet that won’t stop running wastes water and raises your bill. You can fix it in minutes:
- Check the Flapper: Open the tank and inspect the flapper. If it’s worn or not sealing properly, replace it.
- Adjust the Float: If water keeps running, adjust the float to stop filling the tank too high.
- Replace the Fill Valve: If the issue persists, a new fill valve costs only a few dollars.
5. Replacing a Broken Light Switch
A faulty light switch can be frustrating. Replacing it is simple:
- Turn Off the Power: Always switch off the circuit breaker before working on electrical items.
- Remove the Cover and Old Switch: Use a screwdriver to take out the old switch.
- Attach the New Switch: Connect the wires to the new switch just like the old one.
- Reassemble and Test: Secure the switch, turn the power back on, and test.
6. Sealing Gaps Around Doors and Windows
Drafty windows and doors let heat escape, increasing energy bills. Fix this with these steps:
- Use Weather Stripping: Apply adhesive weather stripping around doors and windows.
- Seal Cracks with Caulk: Check for gaps and seal them with a caulking gun.
- Install a Door Sweep: This prevents air from leaking under doors.
7. Repairing a Squeaky Door Hinge
A squeaky door can be annoying, but fixing it takes seconds:
- Use WD-40: Spray a little WD-40 or cooking oil on the hinge.
- Tighten Loose Screws: Check if any screws need tightening.
- Remove and Grease the Hinge Pin: If the noise persists, remove the hinge pin, coat it with petroleum jelly, and reinsert it.
8. Fixing a Loose Cabinet Handle
Cabinet handles get loose over time. Here’s how to fix them:
- Tighten the Screws: Use a screwdriver to secure them.
- Use Toothpicks for Worn Holes: If the screw hole is too large, insert toothpicks with a little glue, then screw the handle back in.
9. Stopping a Door from Sticking
A sticking door is annoying, especially in humid weather. Try this:
- Check the Hinges: Loose hinges can cause misalignment. Tighten them.
- Sand the Edge: If the door sticks at the top or side, sand the edge slightly.
- Use Soap or Wax: Rubbing soap or candle wax on the edge helps it glide smoothly.
10. Painting Like a Pro
A fresh coat of paint can transform a room. Follow these steps:
- Prepare the Surface: Clean the walls and patch any holes.
- Use Painter’s Tape: Tape off edges for clean lines.
- Apply Primer: Helps the paint stick better.
- Use Even Strokes: Paint in long, even strokes for a smooth finish.
FAQs
Q1: Do I need special tools for DIY home repairs?
Most repairs require basic tools like a screwdriver, hammer, pliers, wrench, putty knife, and a drill. Investing in a small toolkit is a great idea.
Q2: How can I learn more about DIY home repairs?
You can watch online tutorials, read books, or practice small repairs to build confidence.
Q3: Is it safe to do electrical work at home?
Minor tasks like changing a light switch are safe if you turn off the power. For major electrical work, hire a professional.
Q4: How often should I check for home maintenance issues?
A quick monthly check helps prevent big problems. Look for leaks, cracks, and loose fixtures.
Q5: Can DIY repairs save money?
Absolutely! Fixing small issues yourself avoids expensive professional fees.
Conclusion
DIY home repairs empower you to take control of your home’s maintenance. Learning these simple fixes saves money, prevents bigger problems, and gives a sense of achievement. With a little effort, anyone can master these skills. So grab your toolkit and start fixing!
Give your home an instant personality boost! With Home Specialize clever hacks, transform any space on a budget—where affordability meets pure ingenuity. Start creating today!
Related Topics: