
Wooden worktops are a classic choice in kitchens — warm, durable, and rich in character. Over time, though, even the finest oak or walnut surfaces can lose their charm due to daily wear and tear. The good news? Renovating wooden worktops is completely doable and can breathe new life into your kitchen without the cost of a full replacement.
In this guide, we’ll walk you through everything you need to know to confidently restore your wooden worktops — from assessing their condition to applying a beautiful new finish. Whether you’re a first-time DIYer or a seasoned renovator, you’ll find practical advice, expert tips, and trustworthy steps to get the job done right.
1. Understanding Wooden Worktops
1.1. Types of Wood Commonly Used
Before you begin, it helps to know what type of wood you’re working with. Each has its quirks:
- Oak: A British favourite, oak is strong, grain-rich, and perfect for rustic or traditional kitchens. It darkens slightly with age.
- Maple: Light-coloured and smooth-grained, maple offers a clean, modern look and resists minor dents well.
- Walnut: Deep and luxurious in tone, walnut is softer than oak but visually striking, often used in premium interiors.
- Beech: Often used for budget-friendly worktops, beech is pale, dense, and easy to sand.
- Iroko: A tropical hardwood that’s naturally oily, making it great for high-moisture kitchens — though it can be trickier to refinish.
Understanding your wood helps you choose the right sanding method and finish later on.
1.2. Common Issues and Signs of Wear
Wooden worktops age gracefully — but not without signs:
- Scratches and nicks from chopping or moving appliances.
- Water stains from standing liquids or improper sealing.
- Dark patches or mould near sinks and kettles.
- Warping or cracks, especially near edges or joins.
- Discolouration, particularly if only part of the surface receives sunlight.
If your worktop shows multiple of these issues, it’s time for a proper renovation.
2. Preparing for Renovation
2.1. Assessing the Worktop’s Condition
Not every surface needs a full sanding. Light wear may only require re-oiling.
- Minor surface stains or dullness: Try a light clean and a coat of oil.
- Deep grooves, black marks, or rough patches: A full sanding is likely necessary.
- Loose planks or structural warping: May require professional repair before renovation.
If you’re unsure, test a small patch by lightly sanding and applying oil — it’ll show you what’s possible.
2.2. Gathering Necessary Tools and Materials
A successful renovation starts with the right tools:
Tools:
- Orbital sander (or sanding block for small areas)
- Sandpaper (grits: 80, 120, 180, and 240)
- Tack cloth or microfibre cloth
- Painter’s tape
- Putty knife
Materials:
- Wood filler (matching tone)
- Natural or hard wax oil (e.g., Osmo, Rustins)
- White spirit or wood-safe degreaser
- Optional: wood stain if changing the tone
Safety Gear:
- Dust mask
- Protective gloves
- Safety goggles
3. Step-by-Step Renovation Process
3.1. Cleaning the Surface
Start with a thorough clean:
- Remove all items and wipe down with a wood-safe cleaner or diluted white vinegar.
- Use a scraper or putty knife to lift dried-on food or paint.
- Rinse with clean water and let dry completely.
Avoid harsh chemicals like bleach — they can damage or dry out the wood.
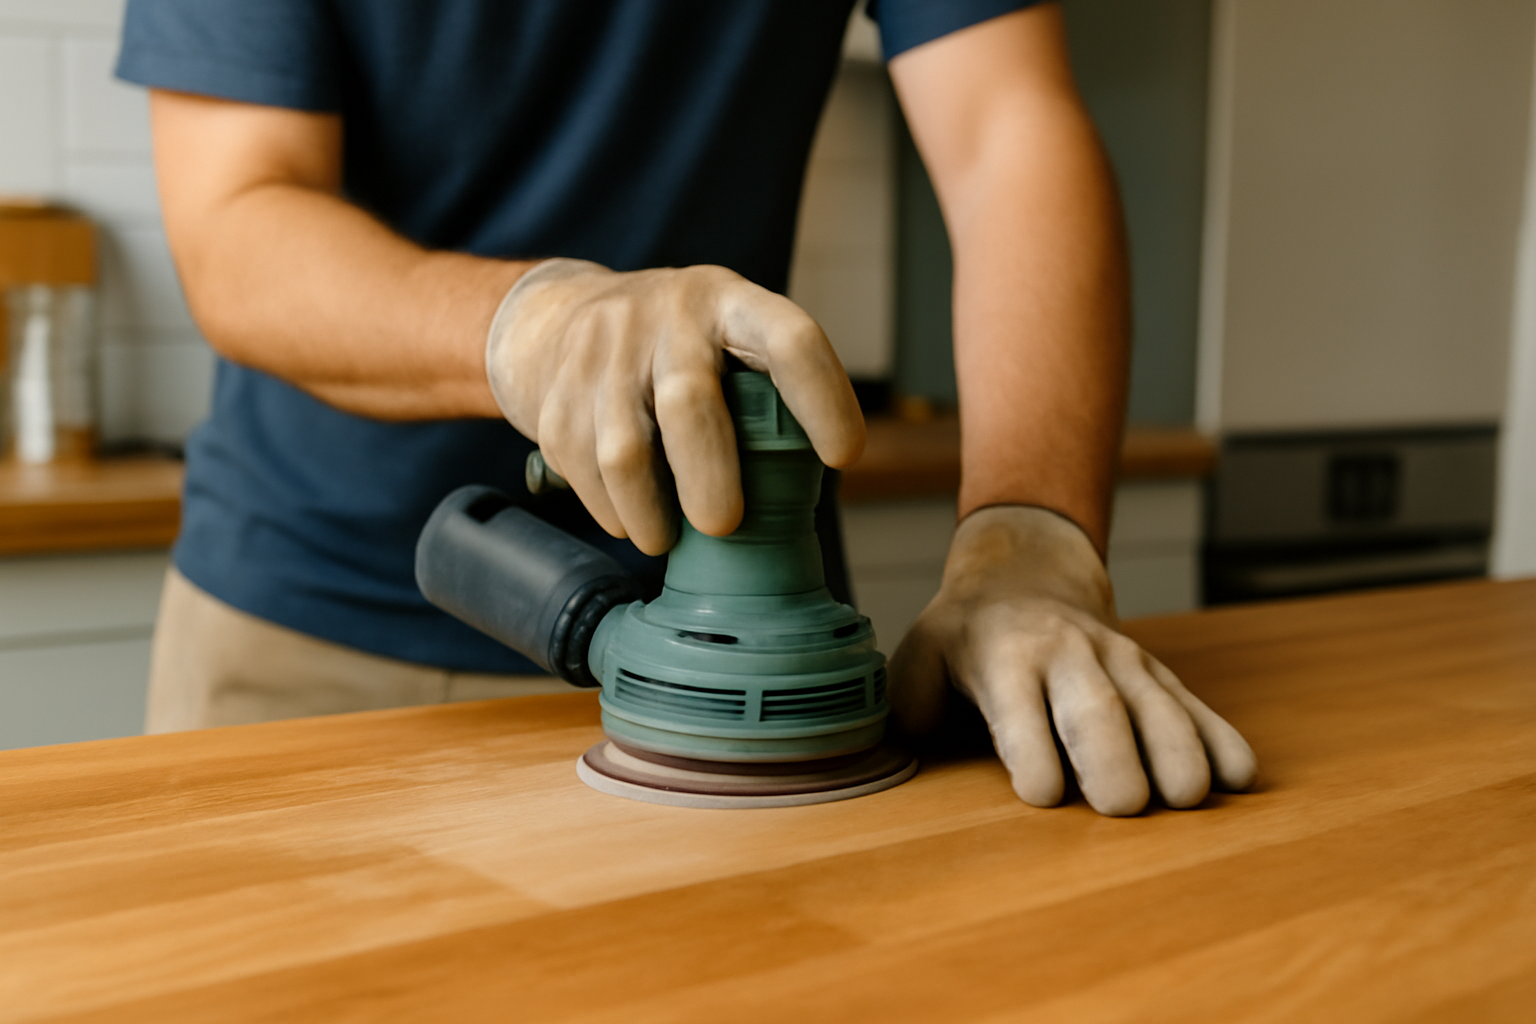
3.2. Sanding the Worktop
Sanding is where the transformation happens.
- Start coarse: Use 80-grit to remove old finish, stains, and deep marks. Sand evenly along the grain.
- Smooth the surface: Move to 120-grit, then 180- and 240-grit for a buttery-smooth finish.
- Edge care: Use a sanding block to reach corners and curved edges.
After each grit, vacuum thoroughly and wipe with a tack cloth to remove dust.
3.3. Repairing Damages
Once sanded, assess for any deeper flaws.
- Cracks or holes: Fill with a wood filler that matches the wood’s tone. Let dry and lightly sand smooth.
- Dark stains: These may need deeper sanding or treatment with oxalic acid (wood bleach), but only use cautiously.
Avoid over-filling or using multipurpose fillers — they don’t blend well and may affect oil absorption.
3.4. Applying Finishes
Now to protect and enhance the wood.
Popular finishes:
- Danish Oil: Easy to apply, enhances grain, moderate durability.
- Hard Wax Oil (e.g. Osmo): Longer-lasting and water-resistant — ideal for kitchens.
- Tung Oil: Natural, food-safe, but requires multiple coats.
How to apply:
- Stir (not shake) your finish.
- Use a lint-free cloth or sponge brush to apply a thin coat.
- Let it soak in (10–15 minutes), then wipe off excess.
- Allow to dry as per manufacturer’s instructions.
Apply 2–3 coats for best results, lightly sanding between each with 320-grit paper.
3.5. Drying and Curing
Don’t rush this stage:
- Most oils take 8–12 hours to dry between coats.
- Full curing can take up to 7 days — avoid placing heavy items or getting the surface wet.
- Ensure good ventilation during and after application.
Patience here pays off in a finish that lasts years.
4. Maintenance Tips Post-Renovation
4.1. Daily Care Practices
- Wipe spills immediately — especially water and acidic substances like lemon juice or vinegar.
- Use chopping boards to avoid scratching.
- Avoid harsh spray cleaners — a damp cloth with mild soap is enough.
- Never place hot pans directly on the wood.
4.2. Periodic Maintenance
- Reapply oil every 6–12 months, or when the surface looks dry or dull.
- Buff out small scratches with 240+ grit paper and re-oil locally.
- Deep clean occasionally with wood soap to lift embedded grime.
A well-maintained worktop can last decades and continue to look even better with age.
5. Expert Insights and Recommendations
- Start small: If this is your first renovation, try a utility surface or less visible area first.
- Sand in stages: Don’t skip grit levels — it leads to swirl marks and uneven absorption.
- Test finishes: Apply on an offcut or hidden area to preview the final colour.
- Don’t over-oil: More isn’t better. Thick coats can stay sticky and attract dust.
- Use natural daylight: Artificial lighting can hide flaws during sanding or oiling.
Pro decorators agree: renovation is 80% prep, 20% finish. Don’t rush.
Conclusion
Renovating wooden worktops isn’t just a cost-effective way to upgrade your kitchen — it’s a satisfying project that restores both function and beauty to one of your home’s most hardworking surfaces. With a bit of time, the right tools, and careful attention to detail, you can transform dull, scratched, or stained worktops into a centrepiece once again.
Whether you’re breathing new life into a cherished beech counter or updating a modern maple island, this guide has everything you need to renovate your wooden worktops with confidence and care.